

Saturday, 30 October 2010
Friday, 29 October 2010
Experimenting with lino prints
After being inspired by Chantal Vincent's gorgeous lino prints, I though I'd have a crack at doing some myself. I vaguely remember doing this in art class at school and have the pillowslip to prove it. I don't have all the equipment yet to do a really top notch job, but I'm fairly happy with these beginner's results.
First design idea.

While cutting out the drangonfly design I decided to add a flower, stem and leaf as can be seen below.


At present I don't have any ink or rollers so have used stamp pads to print the image which has turned out mottled rather than a solid image.

Second design idea.
 Original sketch of a Crested Tit. Isn't he cute?

Drawing to transfer to lino.
First design idea.

While cutting out the drangonfly design I decided to add a flower, stem and leaf as can be seen below.


At present I don't have any ink or rollers so have used stamp pads to print the image which has turned out mottled rather than a solid image.

Second design idea.


Drawing to transfer to lino.


I got a bit slack here and didn't carve out all the left hand side surface. Tch, tch.
I've had oodles of fun trying this out. The design and drawing process is definately the most enjoyable part for me at this stage. Hopefully with time I can improve my carving skills for a neater image and aquire some more equipment to get a more professional and finished look. I did want to find out if I would enjoy this before I spent too much money.
Have a lovely weekend,
Anne
Tuesday, 26 October 2010
Mosaic of flowers update
Yesterday in painting class I was working on the petunias in my painting. They are not quite finished, nearly. I was quite happy with the result of my 2 hour class.
I hope everyone is having a lovely day.
Anne
 | |||||||
| Petunias left hand middle block. |
 |
| Yesterdays work. |
Anne
Friday, 22 October 2010
Seashells and buttons
Miss G. is in the process of slowly cleaning out her bedroom and she found a bag of shells from a holiday long past. Inside the bag were shells with little holes in them that she had obviously kept with the idea of stringing them into a necklace or two. She asked me if I would like to use them for anything and of course I said yes with a creative project in mind.

I needed some fishing line to start my project and as hubbie could only find yellow, that's what I used.

About a third of the way through stringing shells, I decided that shells by themselves were a bit boring, so I raided my button stash.
This is the end result.

Unfortunately my photos didn't turn out as well as I'd hoped so it's a bit hard to see the seashell/button thingy hanging in my garden room. Please excuse the mess through the garage window, hubbie is have a fantastic time cleaning out years worth of junk. My garden room needs a spring clean too.

I had a very pleasant half hour making a simple decorative item for my garden room. I hope all the creative people in blog land find a few minutes for creativity this weekend. Have a good one.
Anne xx
Thursday, 21 October 2010
Rat catcher
Hubbie is on two weeks holiday and is having a wonderful time cleaning out the garage and tossing all manner of junk. It's amazing what you find when you have a really big clean out. But what you don't want to find is a rats nest with three rats in residence.
The rats managed to escape out of the garage and one hid under a plank of wood. Stripey, one of our gorgeous cat's was at one end, I was at the other poking under the plank and snap, clever cat catches rat. If you have a rat phobia or love rats, look away now.


I guess it's crazy putting up a post about a cat catching a rat, but we are very proud of our cat for doing such a good job. It's the farming girl coming out in me. :-)
Tuesday, 19 October 2010
Goodbye feathered friend
Growing up on a farm has made me a lover of animals big and small and I seemed to have passed this gene onto Miss G. A couple of days ago one of our favourite chooks became sick and this morning she was looking very sad indeed. As we had another chook die some time ago with a similar ailment, I decided to visit the vet for hopefully a diagnosis and a cure. It was not to be and our poor little Pixie, as she was named, when to sleep permanently.
That is Pixie in the photo below. She had such a personality, was always the most friendliest and curious of our chooks. I would lift up rocks and bricks in the back yard and she was always the first to come over and see if there were any scrumptious bugs, insects, worms or snails to add to her diet. You can see she has something red on her back in the photo. She was a greedy girl, always first to see what the scrap bucket held and wouldn't get out of the way when the scraps were tossed down onto the ground

Miss G. and I have shed some tears (we are such softies) and although we are sad she is with us no more, we are grateful for the eggs she laid for us and the fun we had enjoying her personality.
Miss G. is an avid poetry writer and composed the following poem for Pixie.
Anne
Sweet Sorrow
Oh friendly sun
Burn my bones
Bleach them white
Maybe then
I'll be warm again
Oh cloudless sky
So much the same
So far
Can you be
So carefree?
Oh memory
Such sweet recall
Beloved lost
I weep a while
Then I smile
by Miss G.
Monday, 18 October 2010
Apricot Coconut Slice
Last week I tried out a new recipe that is super easy and to my delight, the family were very happy with the results. I tweaked the recipe to my liking and here it is.
Apricot Coconut Slice
Ingredients
2 cups self raising flour
1/2 cup milk
1 cup brown sugar
125g melted butter
1 cup desiccated coconut
200g dried apricots, chopped
1 tablespoon ginger powder
1. Soak apricots in boiling water for 15 minutes, then strain. (I chopped my apricots after soaking, easy peasy).
2. Put melted butter in a large bowl, then add fruit, sugar, coconut, milk, flour and ginger, stirring well after each addition.

3. Bake at 180 C in a paper-lined 25cm x 30cm lamington tin for about 30 minutes or until cooked.

4. Cool in tin and cut into slices when cool.


We tried to wait until the slice was cool before we attacked it, but we just couldn't. Tastes very nice warm and I think a dollop of cream would be a lovely addition.
If you haven't eaten it all the day it's made, you can have some the next day for morning tea with a latte which is just what I did.

You can leave out the ginger, that was my addition and I also chose to use butter instead of margarine. Next time I might try using blueberries instead of apricots and a different spice.
Happy baking,
Anne
Saturday, 16 October 2010
Brotherly love

Just let me wash the back of your neck, that real dirty spot you can't reach.

Ahhhhhh, that's better. Now my chin won't get dirty when I use you for a pillow.

Friday, 15 October 2010
Highschoool artwork
My favourite memories from high school are when I was either in the library or having art classes. I remember doing all kinds of interesting things in art that I had never been exposed to before. Working in clay, silk screen printing, tie-dying and making lino prints to name a few.
After I discovered Chantal Vincent's blog (check out the button on the side bar), and being inspired by her stamps and lino prints, a little memory came to the surface. Didn't I have a piece of artwork in the linen cupboard from high school days, something I made when I was either 13 or 14 years of age?
I went scrabbling last night and found my memory and here it is.
 From memory this is a lino print. The design is of my Grandma's house, she lived just across the road from the high school and we would visit her for lunch every day. (Home was 20 miles away by school bus). Looking at this artwork (which is printed on a pillowslip), I can't believe I actually did this. Here is a closer view.

Looking at this makes me want to have another go at lino printing and I've already started drawing up some designs which I think would look very nice on a linen tea towel or two. It's fun playing around with sketches and ideas.
Wishing everyone a lovely weekend. We are quite sodden with rain here and probably won't see the sunshine this weekend. Ah that means lots of opportunities for delightful inside craft stuff. :-)
Anne
I went scrabbling last night and found my memory and here it is.


Looking at this makes me want to have another go at lino printing and I've already started drawing up some designs which I think would look very nice on a linen tea towel or two. It's fun playing around with sketches and ideas.
Wishing everyone a lovely weekend. We are quite sodden with rain here and probably won't see the sunshine this weekend. Ah that means lots of opportunities for delightful inside craft stuff. :-)
Anne
Thursday, 14 October 2010
On the kitchen window sill

When I went to yoga class Tuesday morning, I found out my yoga teacher has broken her ankle. I doodled around a bit and came up with this idea to make her a get well card.

It's certainly not perfect but I had fun. Practice makes perfect, right?
Have a great day,
Anne
Tuesday, 12 October 2010
Mixed bag
Hubbie made rather a disappointing discovery on Saturday. The solar dragonfly lights Miss C. bought me for my birthday have started to rust so we've had to take them down. They've only been out in the elements for a couple of weeks and when you read on the box that something is for outside use only, you don't expect it to rust. I've got quite use to having little solar lights hanging in my garden room that I just couldn't do without some.

Can you see those bright and colourful Chinese lanterns? They are solar powered, are nylon and plastic so they'd better not rust!!!! They look so cheerful out there swaying in the breeze. We are in for another spring storm this afternoon, so it will be interesting to see how they stand up to the elements.
In our front yard we have the most glorious rhododendron tree that has just started flowering.


It was so windy while I was taking this photo I had to hold onto a leaf.
Stripey puss decided to join me in the front yard.

He likes to play a game with me where I pluck a lawn daisy, throw it up in the air and he tries to catch it and he usually succeeds too.
Here is our front yard view with two sycamore trees, bluebells and a camellia in the background with two flowers still in bloom. You have to look hard.

Finally, my flower mosaic oil painting update.

Yesterday I worked on blocking in the lower right hand section and the started work on refining the flowers in the top left hand section. I'm still trying to convince my teacher that I want this to be a loose painting. I don't think she understands because I've always painted highly detailed images. Next week perhaps.
Hope you are all having a great Tuesday.
Anne
Sunday, 10 October 2010
Gardening moments
Today I had some gardening moments which was really, really nice since in winter there were virtually none. The vege. garden is ready to be planted and I wanted a few other plants to add some more colour as it gets warmer. As hubbie needed to buy hardware items for the rebuilding of the pergola, it was the perfect opportunity for me to tag along with him and spend a very pleasant half hour in the gardening section of the store.
I came home with three tomato plants, one of which is a cherry tomato, two perpetual lettuce plants and a punnet of mignonette lettuce seedlings, some basil and marigolds to plant around the tomatoes. I also planted some bush bean seeds which I hope will germinate as they are bit old. I also bought some lobelia and petunia seedlings, some diascus and a verbena.
The day was beautiful and we all enjoyed the sunshine including the animals.


.
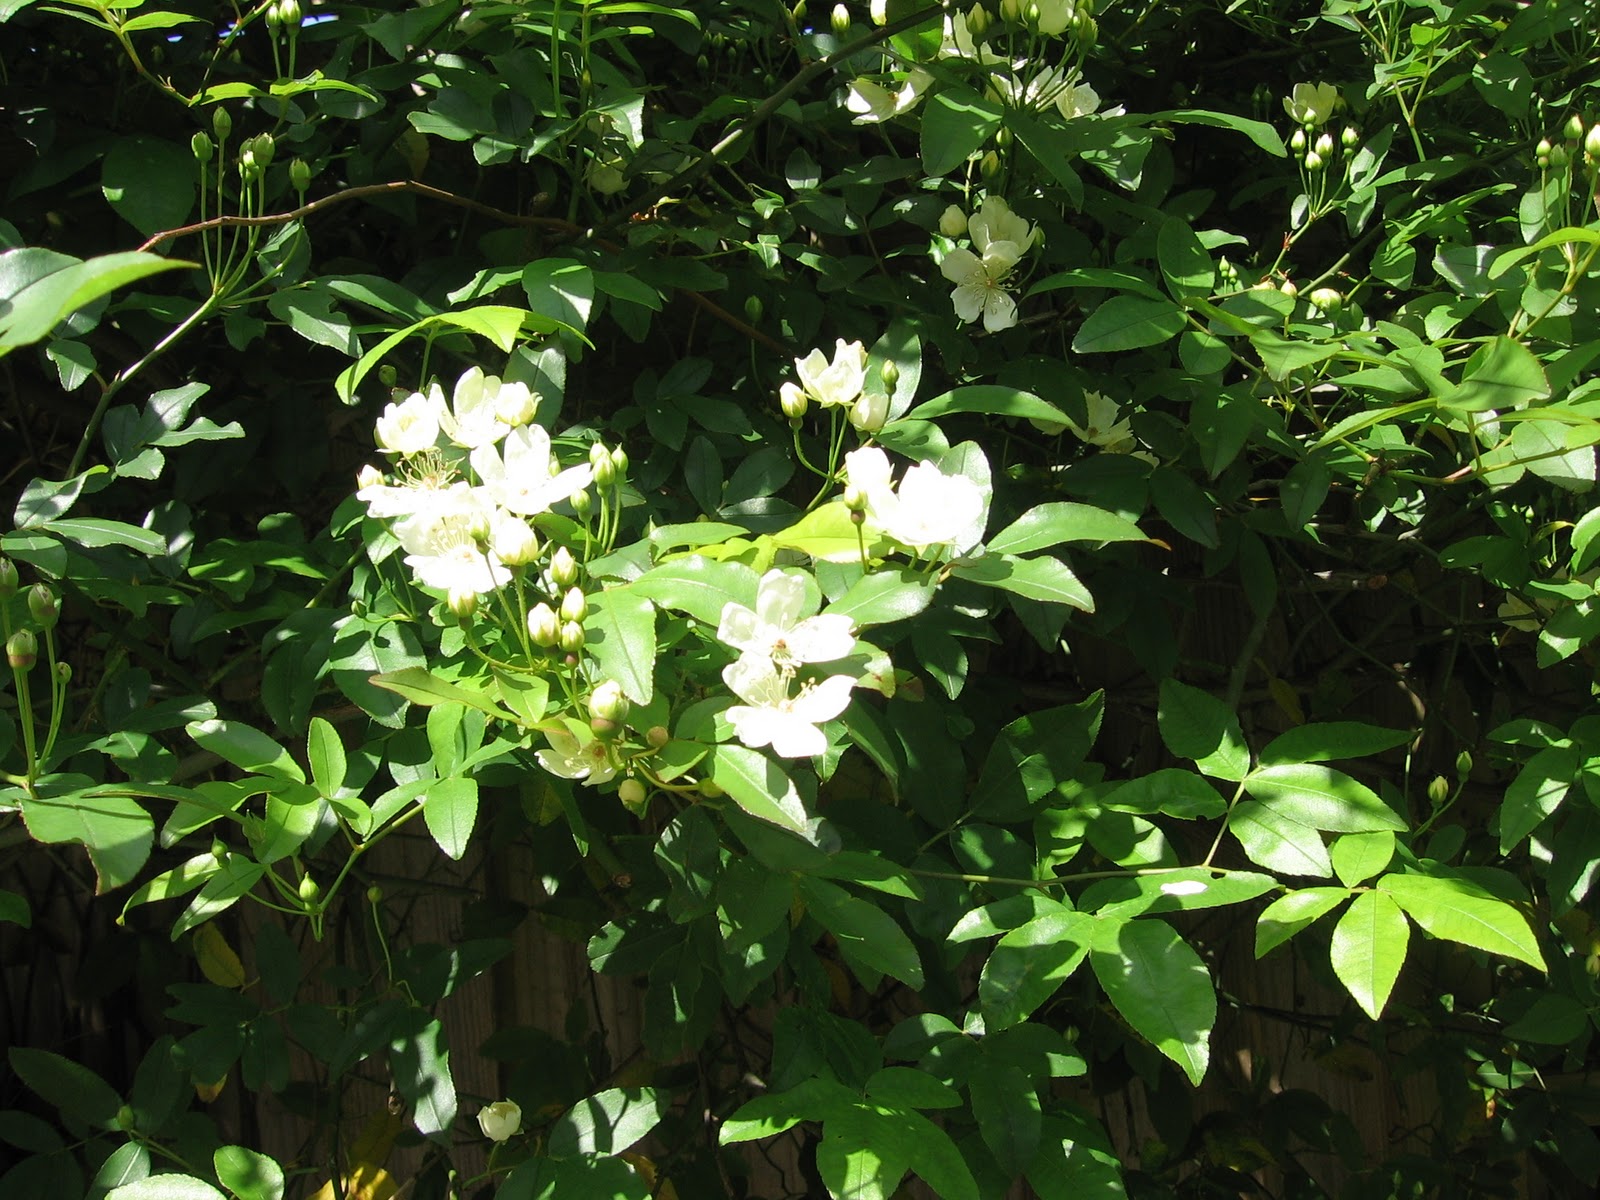
Banksia rose

The echium coming into flower.
Spring - beautiful.
Saturday, 9 October 2010
Keeping the wrinkles at bay
I've reached a certain age where the wrinkles are starting to do their thing and I've become more conscious of trying to keeping my face well moisturised. The Australian sun can be a bit brutal on my fair freckly skin so I decided a few years ago to make my own facial moisturiser.
There were a number of reasons for doing this. The commercially made, inexpensive light moisturiser I had been using just wasn't cutting it anymore and I didn't want to pay the outrageous prices for the products that would supposedly help my aging skin. I also wanted to know what exactly I was putting on my face. Solution, make my own.
I then had the task of finding a suitable recipe and sourcing the raw ingredients to make my moisturiser. The recipe I am sharing with you below is a work in progress. This is the fourth variation and I hope (fingers crossed), I might have a winner. This moisturiser is quite rich, but with this latest tweaking of the recipe, it is more creamy in texture rather than being stiff and oily. So this is what I got up to today.
RICH CREAMY FACIAL MOISTURISER

Ingredients
3 tablespoons apricot kernel oil
2 tablespoons sweet almond oil
2 tablespoons avocado oil
8 tablespoons rose infused water
1 1/2 - 1 3/4 tablespoons bees wax
2 tablespoons aloe vera gel
15 drops grapefruit seed extract (preserver)
15 drops pure rose oil
Place the oils (except rose oil) and wax in a bowl. Gently heat over a saucepan of water stirring until melted. Take off heat.


Meanwhile put rose water and aloe vera gel in a microwaveable bowl or jug and stir well. Heat in microwave until very warm. This took about 1 minute in my microwave.
Slowly pour rose water mixture into oil mixture and using a whisk, stir continually. As you continue to stir and the mixture cools, it will start to turn creamy. Keep stirring until cool. The moisturiser should end up being the consistency of mayonnaise.
Unfortunately my camera started playing up at this point so I couldn't take a photo of this stage in the process.
When the moisturiser has cooled, add grapefruit seed extract and rose oil and stir thoroughly until combined. The colour of the moisturiser will be a very pale green due to the avocado oil.
Pour into storage container. It's now ready to use.
The finished product.


Bye for now,
Anne
Friday, 8 October 2010
Two easy, yummy recipes
Like most people I enjoy food, only problem is I have to cook most of it. :-) So when I come across recipes that are easy and taste delicious, I'm all for giving them a go. I have two recipes for you that are made frequently in our house. The first is fantastically quick and I taught Miss C. to make this a year or so ago. So it's one of her signature dishes now. O.K. here we go.
SATAY CHICKEN STIR FRY – Serves 4
Ingredients:
1 tablespoon olive oil
500g chicken fillets, cut into thin strips, (I use only 1 chicken fillet)
1 x 270ml tin (can) light coconut milk
1 chicken stock cube, (I use a low salt stock cube with no trans fats)
2 tablespoons peanut butter, (I have crunchy in the pantry so that’s what I use)
2 tablespoons sweet chilli sauce (optional)
¼ - ½ teaspoon garam marsala
2 cups snow peas, topped and tailed
1 red capsicum (pepper), sliced in strips


In a bowl mix coconut milk, peanut butter, stock cube, garam marsala and sweet chilli sauce. Heat oil, stir fry chicken until golden brown.
Add satay sauce to chicken, then add vegetables and simmer uncovered for about 2 minutes or cooked to the texture you like your vegetables.


Serve over rice.

The second recipe I have for you is a banana cake. Yes another one, but this one is so easy as you melt the butter, shove everything in one bowl, mix, put it in the tin and into the oven to bake.
VERY EASY BANANA CAKE - Serves 1 - 12
Ingredients:
1 3/4 cups self raising flour, sifted
1 cup castor sugar, (I use less)
1/4 cup soft brown sugar
1 cup mashed bananas, (really soft and going brown ones are good)
125g butter, melted
3 eggs, lightly beaten, (I never do this, I just chuck them in the bowl)
3/4 cup sour cream, (I never use sour cream, always natural yogurt)
If you want to ice your cake -
1 cup icing sugar, (powdered sugar in the U.S. I think?)
the rind of 1 lemon
lemon juice, enough to make a fairly stiff icing
Preheat oven to 180C. Place flour, castor sugar, brown sugar, banana, butter, eggs and sour cream or yogurt into a bowl and stir until combined. Spoon mixture into a 25cm fluted ring tin and bake for 40 minutes or until cooked when tested with a skewer. Cool the cake on a wire rack and ice if desired.


If you try these recipes, enjoy. Bye for now,
Anne
Subscribe to:
Posts (Atom)